Honda Motorcycle Touchup Paint
Investing in high-quality touch-up paint not only helps maintain the aesthetic appeal of your Honda motorcycle but also protects against rust and corrosion that may occur from exposed metal surfaces. Applying touch-up paint correctly requires attention to detail and patience, ensuring that the repaired areas blend seamlessly with the rest of your bike’s finish.
So, whether you’re an avid rider who wants their motorcycle to look showroom fresh or simply someone who takes pride in keeping their vehicle in top condition, having a reliable source for Honda motorcycle touch-up paint is a must. With the proper tools and a little bit of time, you can easily fix those unsightly blemishes and keep your ride looking as good as new.
Understanding The Importance Of Touching Up Your Honda Motorcycle
When it comes to keeping your Honda motorcycle in pristine condition, touchup paint plays a crucial role. Over time, your motorcycle’s paint can become chipped, scratched, or faded due to various factors such as weather conditions, road debris, or accidental bumps. That’s where the importance of touching up your Honda motorcycle with the right touchup paint comes into play.
Before you begin applying touchup paint to your Honda motorcycle, it’s essential to properly prepare the surface. Here are a few steps to ensure optimal results:
- Clean and dry: Thoroughly clean the area that needs touchup using mild soap and water. Make sure there is no dirt, grease, or wax residue on the surface.
- Sand lightly: Gently sand down any rough edges or raised areas around the damaged spot using fine-grit sandpaper. This helps create a smooth surface for the touchup paint.
- Mask surrounding areas: Use masking tape or painter’s tape to protect nearby parts from accidental overspray during application.
Applying The Touchup Paint To Your Honda Motorcycle
- Shake well: Shake the touchup paint bottle vigorously before opening it. This ensures proper mixing of pigments and consistency.
- Apply thin coats: Using a small brush or applicator provided with the touchup kit, apply thin layers of paint onto the damaged area.
- Allow drying time: Let each coat dry completely before applying additional layers. Refer to manufacturer instructions for recommended drying times.
- Blend in: If necessary, gently feather out the edges of the newly painted area to blend it seamlessly with the surrounding paintwork.
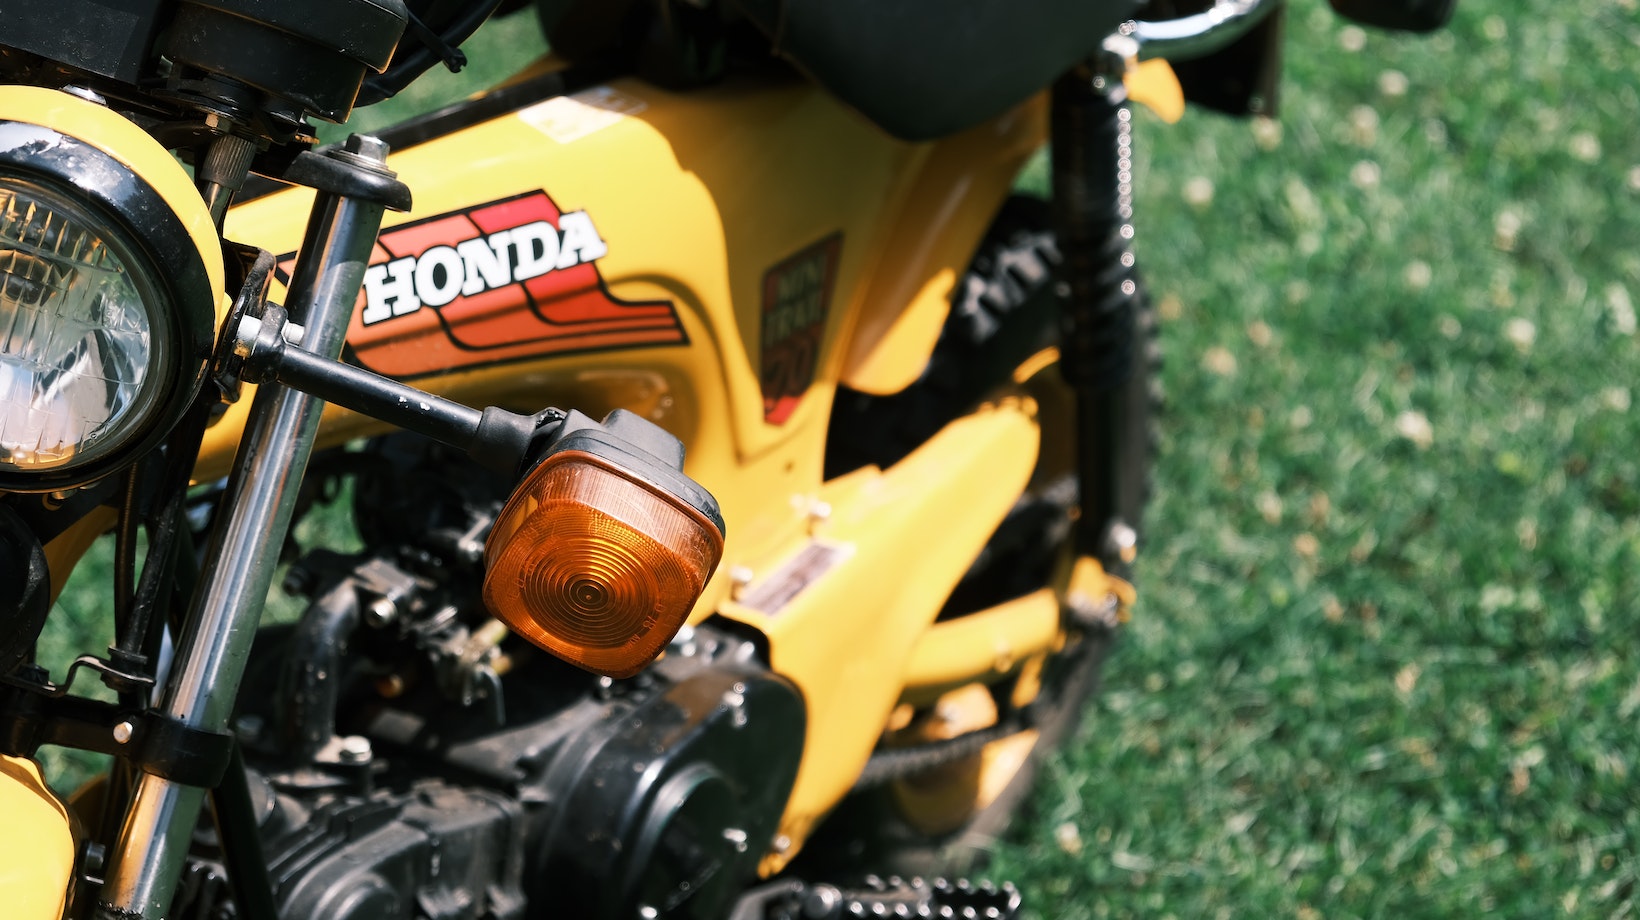
Applying The Honda Motorcycle Touchup Paint
- Prepare Your Bike: Before diving into the application process, it’s crucial to prepare your bike properly. Here are some essential steps:
- Clean the affected area: Make sure to thoroughly clean the area where you’ll be applying the touchup paint. Use mild soap and water to remove any dirt, grease, or debris that could affect adhesion.
- Sanding: If there are deep scratches or rough spots on the surface, lightly sand them using fine-grit sandpaper. This will create a smooth surface for better paint adherence.
- Choose the Right Paint: Selecting the correct touchup paint is vital for achieving optimal results. Consider these factors when choosing your Honda motorcycle touchup paint:
- Color match: Ensure that you have an exact or close color match by referring to your bike’s manufacturer code or consulting with a dealership expert.
- Type of paint: There are different types of touchup paints available such as brush-on pens, aerosol sprays, or small bottles with applicator brushes. Choose one that suits your preferences and provides ease of application for better control.
- Application Techniques: Now that you’re ready to apply the touchup paint, follow these techniques for a flawless finish:
- Shake well: Before using any type of touchup paint, shake it vigorously to ensure proper mixing and consistency.
- Apply in thin layers: Rather than applying one thick coat of paint directly onto the damaged area, start with thin layers. This allows for better control and minimizes the risk of paint buildup or unevenness.
- Feathering technique: If you’re dealing with a larger scratch or area, use the feathering technique. Apply the touchup paint in light strokes, gradually blending it into the surrounding undamaged paint to achieve a seamless transition.
- Allow proper drying time: After each layer of touchup paint, allow sufficient drying time as per the manufacturer’s instructions. This will prevent smudging or accidental damage during subsequent coats.
- Finishing Touches: Once you’ve applied multiple thin layers and achieved satisfactory coverage, it’s time to add the finishing touches:
- Clear coat: To protect your touchup paint and ensure longevity, consider applying a clear coat over the repaired area. This will provide an extra layer of protection against UV rays, weather elements, and potential future scratches.
- Buffing and polishing: Once everything is dry and cured, gently buff and polish the repaired area to blend it seamlessly with the rest of your motorcycle’s finish.
By following these steps and techniques for applying Honda motorcycle touchup paint, you can restore your bike’s appearance with confidence. Remember to always refer to manufacturer guidelines specific to your chosen product for best results. Happy riding!

