 Airbrushing a motorcycle helmet is a great way to customize your gear and add your personal touch. But it’s not as simple as applying paint to a flat surface. Helmets require special preparation, the right materials, and a careful approach to ensure durability and a professional finish. You wouldn’t want to destroy the integrity of your helmet now, do you?
Without proper techniques, paint may peel, crack, or fail to adhere correctly. If you’re planning to airbrush your helmet, here are key things to remember.
Surface Preparation Affects Paint Adhesion
A helmet’s glossy factory finish is designed to protect against wear, making it difficult for paint to adhere without proper preparation. The first step is to remove any detachable parts, including visors, vents, and padding, to ensure complete coverage without obstruction.
Once disassembled, the surface must be thoroughly cleaned with a degreaser to remove any dirt, grease, or contaminants that could interfere with adhesion.
After cleaning, sanding the surface with sandpaper creates a rough texture that allows the paint to bond effectively. Neglecting these steps can lead to uneven application and poor durability, requiring time-consuming touch-ups or complete rework.
The Right Paint and Equipment Determine Durability
Not all paints work well on motorcycle helmets, and choosing the wrong type can result in cracking, fading, or poor flexibility. Since helmets are often made from fiberglass, carbon fiber, or polycarbonate, selecting a paint that adheres well to these materials is essential.
Acrylic urethane paints are among the best choices, offering strong adhesion, flexibility, and chemical resistance. Water-based automotive paints are another option, providing a smooth, even finish while being safer to work with.
If the paint cracks or peels, it may not be formulated for surfaces that experience minor flexing. Helmets are subject to impact and temperature changes, so using a paint designed for automotive or motorcycle applications ensures longevity.
Moreover, when selecting airbrush equipment, investing in a high-quality airbrush gun and compressor ensures precise control and an even application. A gravity-feed airbrush is ideal for detailed work, while a siphon-feed airbrush allows for larger coverage. The compressor, meanwhile, should provide consistent air pressure depending on the paint’s viscosity.
It’s relatively easy to access equipment like these, as sites like SprayGunner offer various options that fit your needs. The right combination of airbrush and compressor enhances the application process and helps achieve a professional-grade finish.
Layering and Curing Prevents Paint From Peeling
A professional airbrushed design isn’t achieved in a single coat. Building up layers gradually allows for better adhesion and a smoother finish. Each coat should be applied in thin, even layers to prevent excessive buildup, which can lead to cracking over time. Between coats, allowing sufficient drying time is essential. Some paints dry within minutes, while others may require hours.
Curing the paint properly ensures that it bonds to the helmet’s surface. While air-drying is common, a low-temperature heat lamp or infrared heater can accelerate the process without damaging the helmet’s integrity.
Rushing the curing stage or applying the next layer before the previous one has fully dried can trap paint, leading to wrinkling or an uneven texture. If this happens, light sanding and reapplying a thin coat can often fix the problem.
Clear Coating Adds Protection and Shine
Once the airbrushed design is complete, a high-quality automotive-grade 2K clear coat is necessary to protect your work from UV exposure, moisture, and general wear. A clear coat enhances the visual appeal and adds durability, preventing fading and chipping over time. To avoid drips and uneven texture, apply multiple light coats instead of a single thick layer.
After the clear coat has fully cured, wet sanding with extra fine grit sandpaper smooths any imperfections. Buffing the surface with a fine polishing compound brings a glossy, professional-looking finish.
If the clear coat appears cloudy or develops an orange peel effect, excessive thickness or high humidity during application may be the cause. Wet sanding and reapplying thinner layers in a controlled environment can resolve this.
Proper PPE Is A Must
Working with airbrush paints can expose you to fumes and fine particulates that can be harmful when inhaled or absorbed through the skin. Hence, wearing a high-quality respirator with organic vapor filters is necessary to protect against toxic chemicals. Nitrile gloves prevent skin contact with chemicals, while safety goggles shield the eyes from overspray.
A well-ventilated workspace is also crucial. Using a spray booth with an exhaust system or working in an area with proper airflow minimizes the risk of inhaling hazardous fumes. If working indoors, an air filtration system should be used alongside a respirator to ensure safety.
Prolonged exposure to fumes can cause dizziness and headaches, so taking regular breaks and working in a controlled environment ensures a safe painting experience.
Other Points to Remember…
Airbrushing your helmet allows for personal expression, but it’s essential to consider the legal implications under U.S. law and follow the safety standards.
Legal Considerations in the United States
In the U.S., motorcycle helmets must comply with the Department of Transportation (DOT) Federal Motor Vehicle Safety Standard (FMVSS) No. 218. This standard specifies the minimum helmet performance requirements to protect against head injuries.
Altering a helmet’s exterior, such as through painting or airbrushing, is not explicitly addressed in FMVSS No. 218. However, any modification that compromises the helmet’s structural integrity or the visibility of DOT certification labels could render the helmet non-compliant with federal safety standards.
Safety and Structural Integrity
The primary concern with painting or airbrushing helmets is the potential degradation of materials. Ingredients in some paints can weaken the helmet’s outer shell or the inner foam liner, reducing its ability to absorb impact. 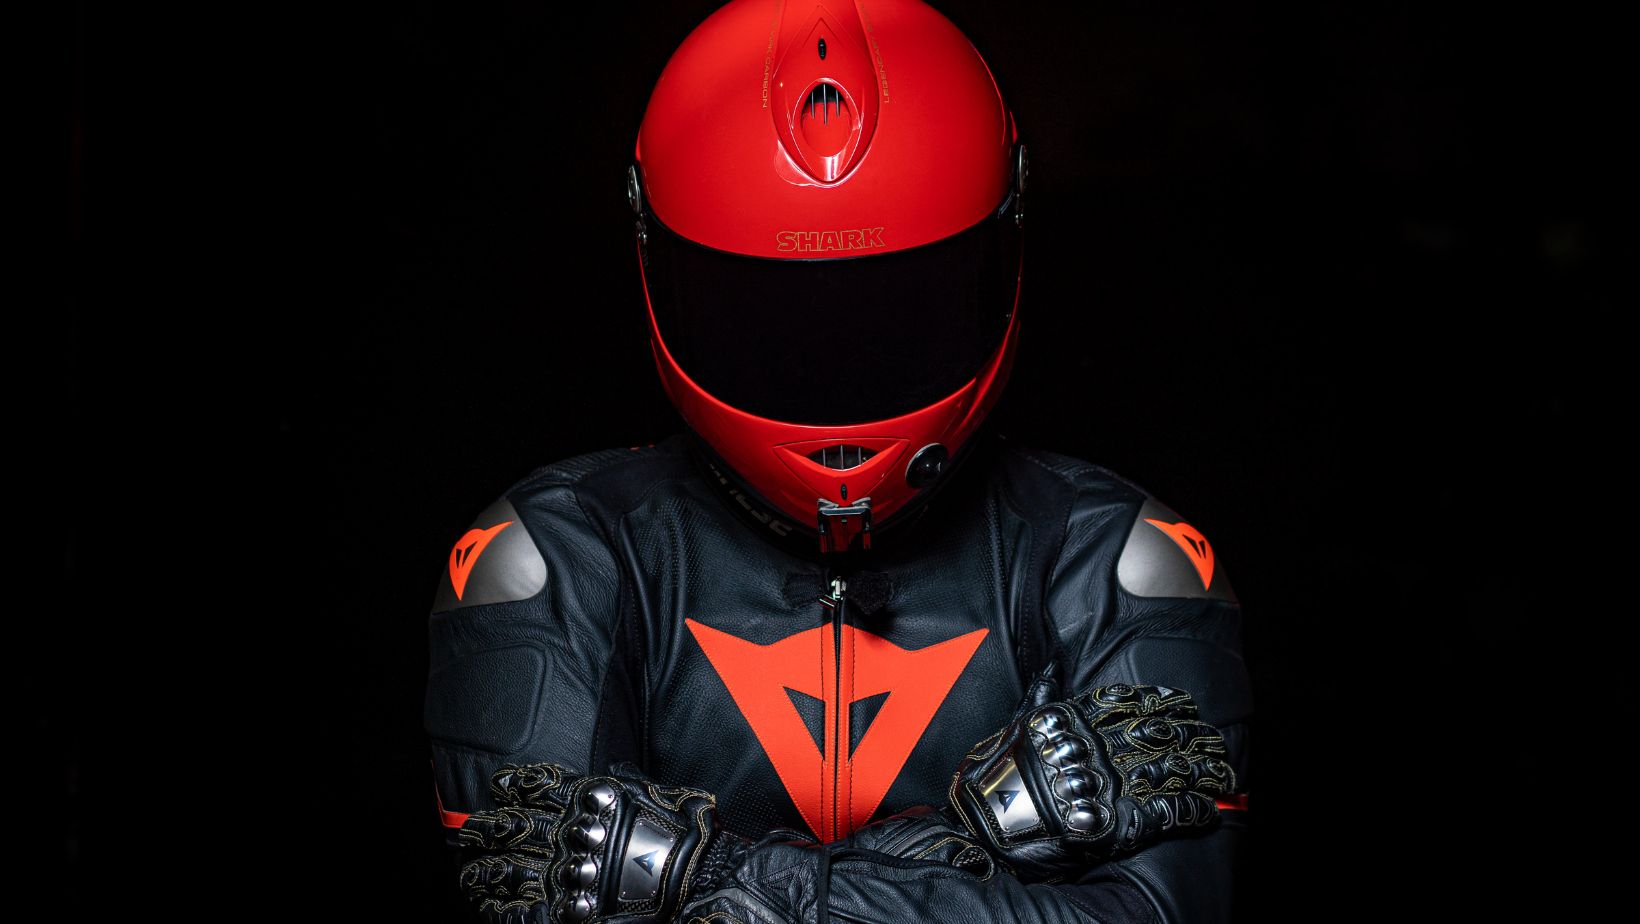
While this degradation may not be visible, it can significantly affect the helmet’s protective capabilities. Therefore, using paints and methods compatible with the helmet’s materials is crucial.
What You Should Do:
- Consult the Manufacturer: Before customizing your helmet, review the manufacturer’s guidelines or contact them directly to understand any restrictions or recommendations regarding painting or airbrushing.
- Use Appropriate Materials: If you proceed with customization, ensure that the paints and the mixture are compatible with the helmet’s materials to avoid compromising its integrity.
- Maintain Certification Labels: Ensure that any customization does not obscure or remove the DOT certification label, as this is essential for legal compliance and safety verification.
Final Thoughts
Airbrushing a motorcycle helmet is a rewarding but technical process that requires careful preparation, the right materials, and a methodical approach. Each step plays a role in achieving a durable and professional finish. If you’re new to airbrushing helmets, practicing on test surfaces first can help refine your technique before applying designs to your actual gear.